

How To Make Easy Fermented Vegetables
May 05, 2022Lacto-fermenting vegetables is a simple and very inexpensive way to support digestion and your gut microbiome with beneficial bacteria and enzymes.
The process of lacto-fermentation helps vegetables' naturally occurring lactobacillus bacteria thrive while killing the "bad" bacteria and preserving the vegetables with lactic acid.
I'll admit, the process scared me. I was afraid of mold, exploding jars, and the subjectivity of knowing when it was done.
"Taste it, and you'll know." Yeah, not helpful for a newbie.
So I continued to spend far too much on store-bought brands until I finally got the guts to try it out myself. And now I kick myself for not trying this sooner.
The process really, truly is very simple. You basically submerge vegetables in salty water on your counter for a few days.
If you're a newbie, I understand the desire for an exact recipe to follow. However, as I learned in my first few batches, there's no exact science when it comes fermenting. You may find you need more or less water, salt, veggies, flavoring over time and that's ok!
The most important parts are that you're using enough salt (but not too much; follow the percentages I provided) and your vegetables are completely submerged throughout the entire ferment.

Here's what you need:
Wide mouth glass canning jar (I use either a 24 oz or 32 oz jar; it's better to have a jar that's too big than too small)
Canning lid or fermentation lids* (I LOVE The Easy Fermenter Lid)
Glass weight* or a mini bowl/ramekin that fits inside the jar to keep the veggies submerged (I like Glass Weights with Easy Grip; the smooth glass weights get a little slippery)
Sturdy vegetables (cauliflower florets, broccoli, carrots, green beans, Brussels sprouts, cabbage, beets, etc)
Water
Pure sea salt (2-5% of the weight of your vegetables)
Optional seasonings (smashed garlic cloves, peppercorns, pepper flakes, ginger root, fennel seeds, cumin seeds, curry powder, fresh herbs, citrus peels, etc)
* You do NOT need the fancy equipment to ferment vegetables, but if you plan to do it often, they do make the process even easier. However, it's no reason to keep you from getting started. You can still make magic using common kitchen items.
Here's the recipe I like to follow for a 32 oz jar:
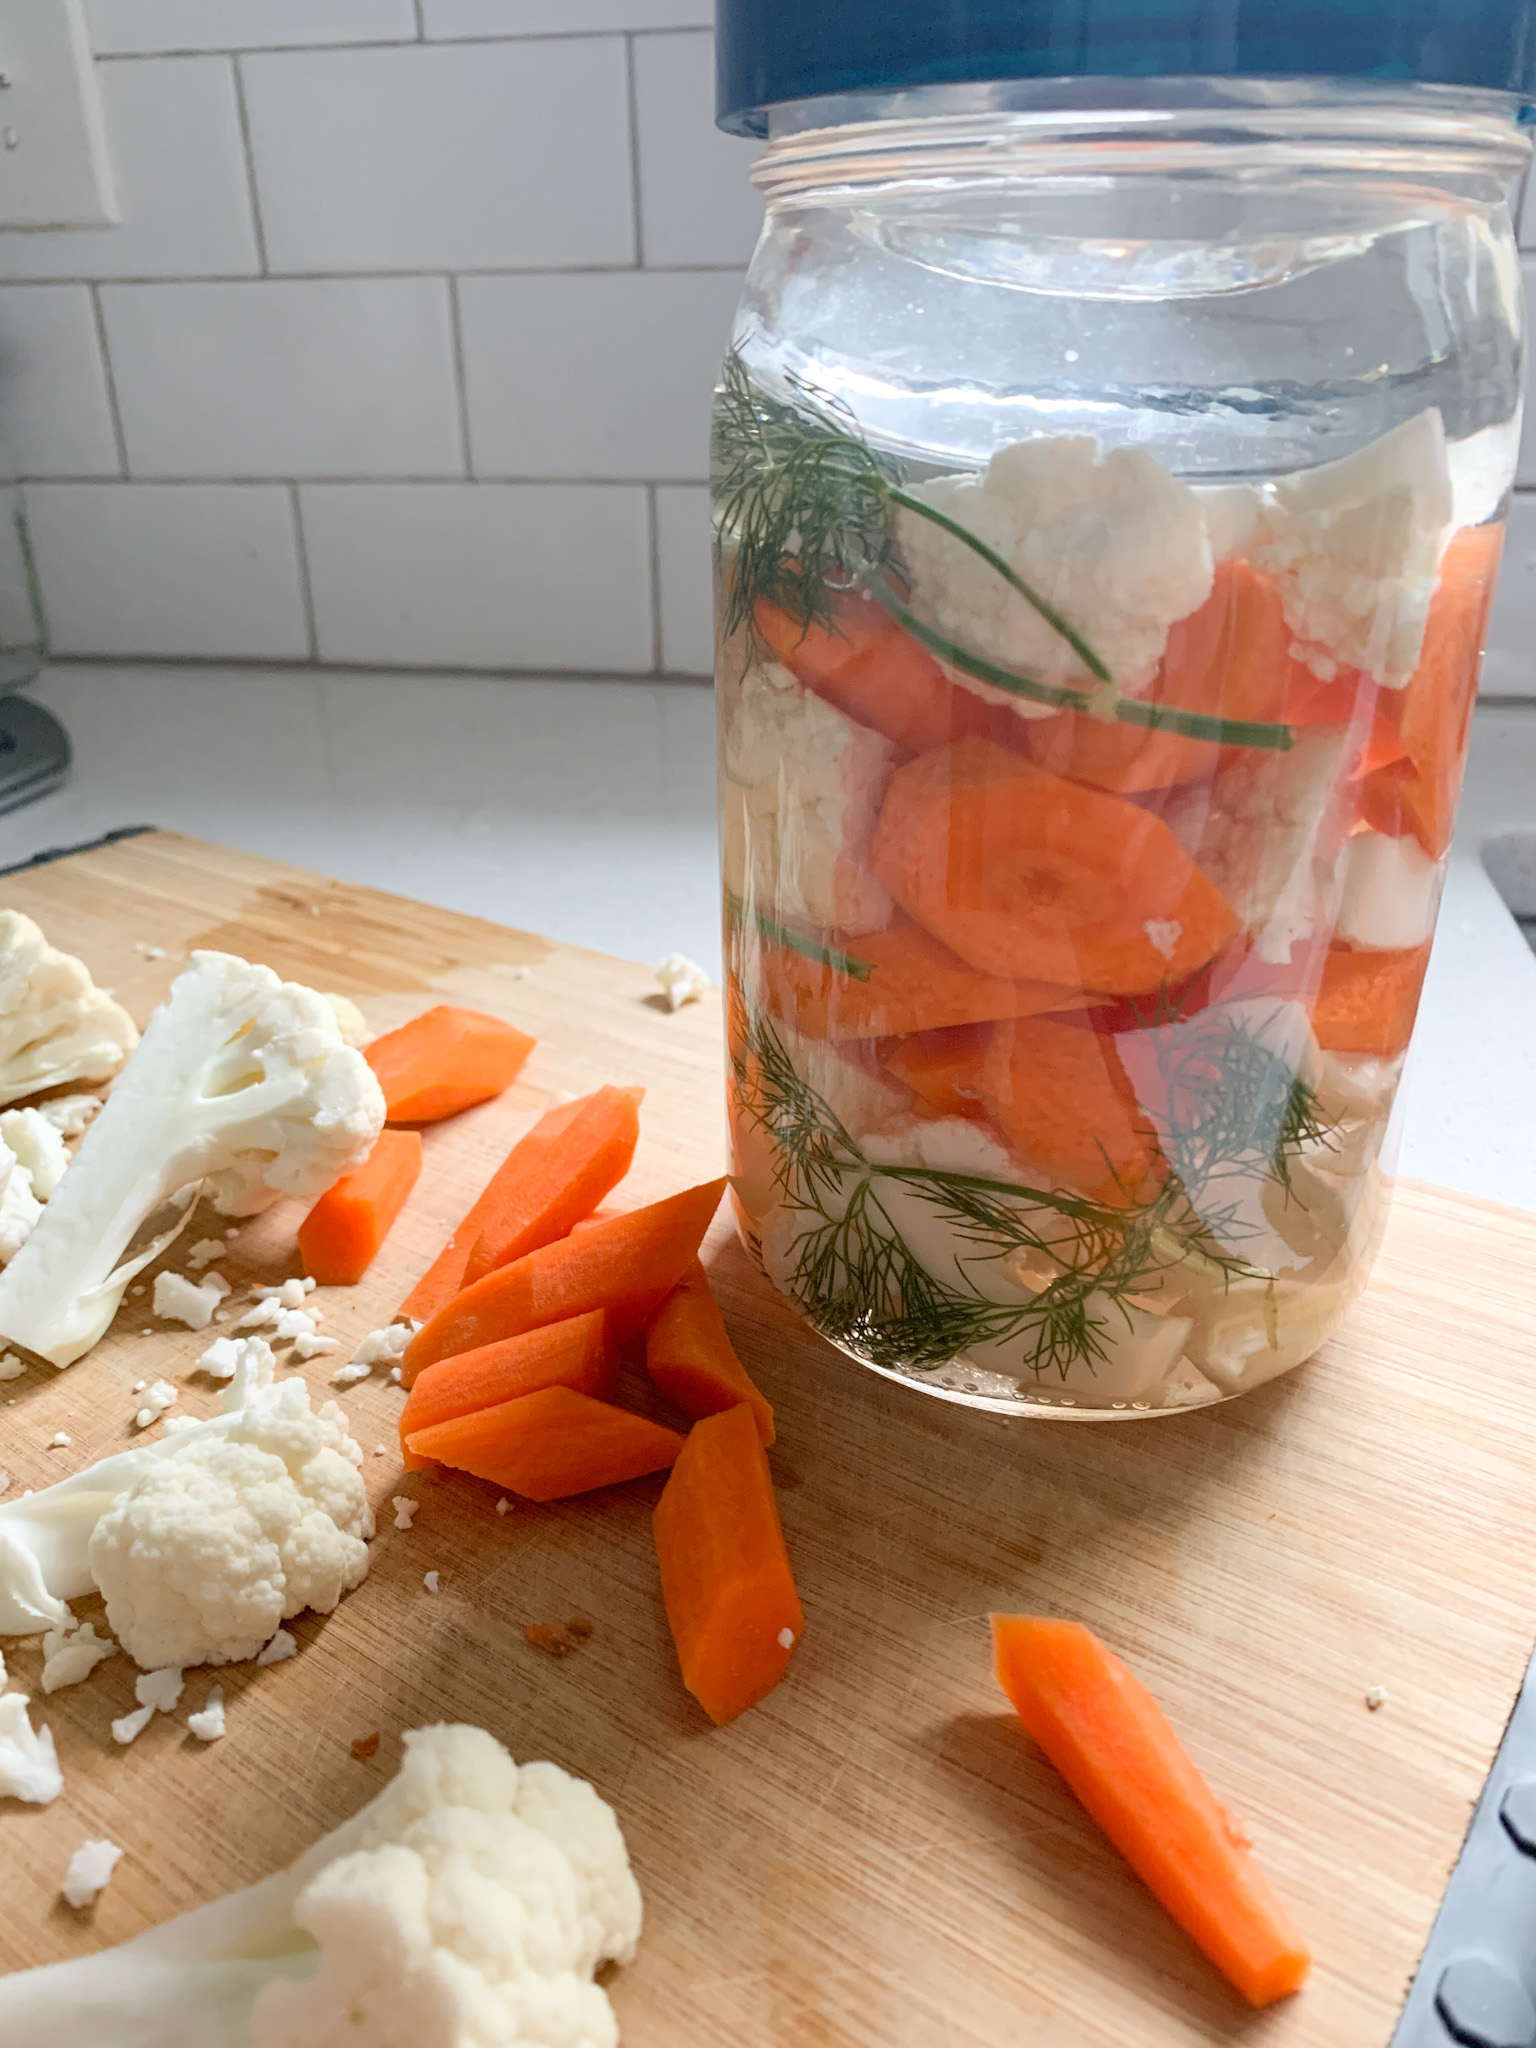
~3 cups cauliflower and carrots, cut to the same size (any size you choose)
3 cups filtered water
1 tablespoon pure sea salt
2 large or 4 small garlic cloves, smashed
4 dill stems
-
Layer the vegetables and seasonings in the glass jar, starting with smashed garlic, if using. Leave at least 1" of room at the top. You can test dropping in your weight at this point to be sure there is enough room to shut the lid before adding the water.
-
Your brine (water mixture) should be around 2-5% salt. For example, my solution was 3 cups of water, which required about 1 tablespoon of sea salt on the low end. Stir the salt into the water until dissolved, and pour over vegetables until they're covered by at least 1/2". If using a powdered spice, like curry, add it in here, and stir to combine before pouring over the vegetables.
-
Place glass weight or small dish on top of the vegetables to ensure they're completely submerged. This helps prevent mold.
-
Screw on the lid, and set aside in a cool spot, out of direct sunlight, on your counter or in a cupboard for 3-5 days.
-
If you're using a metal canning lid, don't screw the lid on too tight as you will need to "burp" the jar once a day to prevent overflow of the water once the gases develop. "Burping" confused me when I first started. It simply means that you loosen the lid to let any air out and tighten it again. Not doing this may result in leakage all over your counter as the pressure builds.
-
The sign of fermentation is when the water starts to become cloudy and you can see the occasional bubble. I like to give it a taste on day 3. To do this, I screw open the lid, wash my hands, remove the weight, and stick a clean fork in the jar to grab one of the veggies to taste. If it tastes only salty with no tang or sour, it needs to sit for longer. I then put the weight back on the veggies, screw the lid back on, and try again the next day.
-
Once it tastes good to you (I prefer a slight bit of tang, not overpowering), put it in the fridge to significantly slow the fermentation and enjoy for months!
NOTES/TIPS:
-
You can't technically ferment for too short or too long. As long as there isn't any mold, you can enjoy the ferment at any point! Different bacteria strains grow at different stages of the ferment so some like to continue the ferment for longer and continue to sample throughout for more diversity. The longer it ferments, the more sour it gets.
-
If you use dried spices in your brine, add 1/4 teaspoon of full seeds or 1 tablespoon of powder to start. Admittedly, I haven't experimented much here yet, but I hear some spices can be more overpowering than others, so start low. You can add more after you taste it mid-ferment if the flavor isn't strong enough.
-
If using the The Easy Fermenter Lid, they supply a pump you can use to suck out any remaining air after taste testing. This is intended to help further prevent mold, and is not an absolutely necessary step if your veggies are completely submerged. Another great lid option is Ball Fermentation Lids and Springs.
-
There are conflicting theories on what to do with a batch that develops mold. Some say to toss the batch, others say to only remove the mold if the veggies were completely submerged. If you've had issues with mold developing on the top, you likely need to increase the salt to water ratio in your next batch to prevent this from happening. I have yet to experience mold (knock on wood).
-
Sauerkraut uses a dry-salting method of fermentation (more to come on this one!). You could still use this method for cabbage but it will have a different taste and texture than traditional sauerkraut.
-
If you're new to eating fermented vegetables, START SLOW, as in no more than 1 tablespoon at a sitting and work your way up. I like to eat a few tablespoons before each meal to help support digestion.
-
Fermented vegetables are not for everyone. If you experience bloat, migraines, or other symptoms shortly after eating fermented vegetables, your gut may not be ready for them.
Share your ferments with me by tagging @itskristicarlson on IG!
Stay connected with recipes, how-tos and updates straight to your inbox.
Hey there!
